Django : 7 - 增加評論功能

Django

文章建立好後,也來增加評論表單,讓使用者可以留言吧~

增加 comment model

1
2
3
4
5
6
7
8
9
10
11
12
13
14
15
16
17
18
class Comment(models.Model):
post = models.ForeignKey( #增加ForeignKey,讓他和post有關聯
Post,
on_delete=models.CASCADE, #post被刪除,關聯的comment也會被刪除
related_name='comments',
)
username = models.CharField(max_length=80)
email = models.EmailField()
body = models.TextField()
created = models.DateTimeField(auto_now_add=True)
updated = models.DateTimeField(auto_now=True)
active = models.BooleanField(default=True) #是否顯示

class Meta:
ordering = ('-created',)#排序規則,新的在上面

def __str__(self): #debug的時候,可以印出來的格式
return 'Comment by {} on {}'.format(self.username, self.post)

$ poetry run python manage.py makemigrations blog

$ poetry run python manage.py migrate

可以看到 DB 裡 blog_comment 的 Table 建立好了

更新 Admin 介面

1
2
3
4
5
6
7
8
9
10
11
from django.contrib import admin
from .models import Post, Comment #新增這行

#...其他程式

#新增以下
@admin.register(Comment)
class CommentAdmin(admin.ModelAdmin):
list_display = ('name', 'email', 'post', 'created', 'active')
list_filter = ('active', 'created', 'updated')
search_fields = ('name', 'email', 'body')

後台就可以看到更新後的 admin 介面

透過 ORM 操作

1
2
3
$ python manage.py shell
$ from blog.models import Post, Comment
$ post = Post.objects.all()

來看一下目前 post 是什麼:

1
2
>>> post
<QuerySet [<Post: Lorem Ipsum2>, <Post: Lorem Ipsum>, <Post: created from shell>, <Post: hi>]>

在最後一篇 post 新增評論

1
2
3
4
5
6
7
8
9
10
11
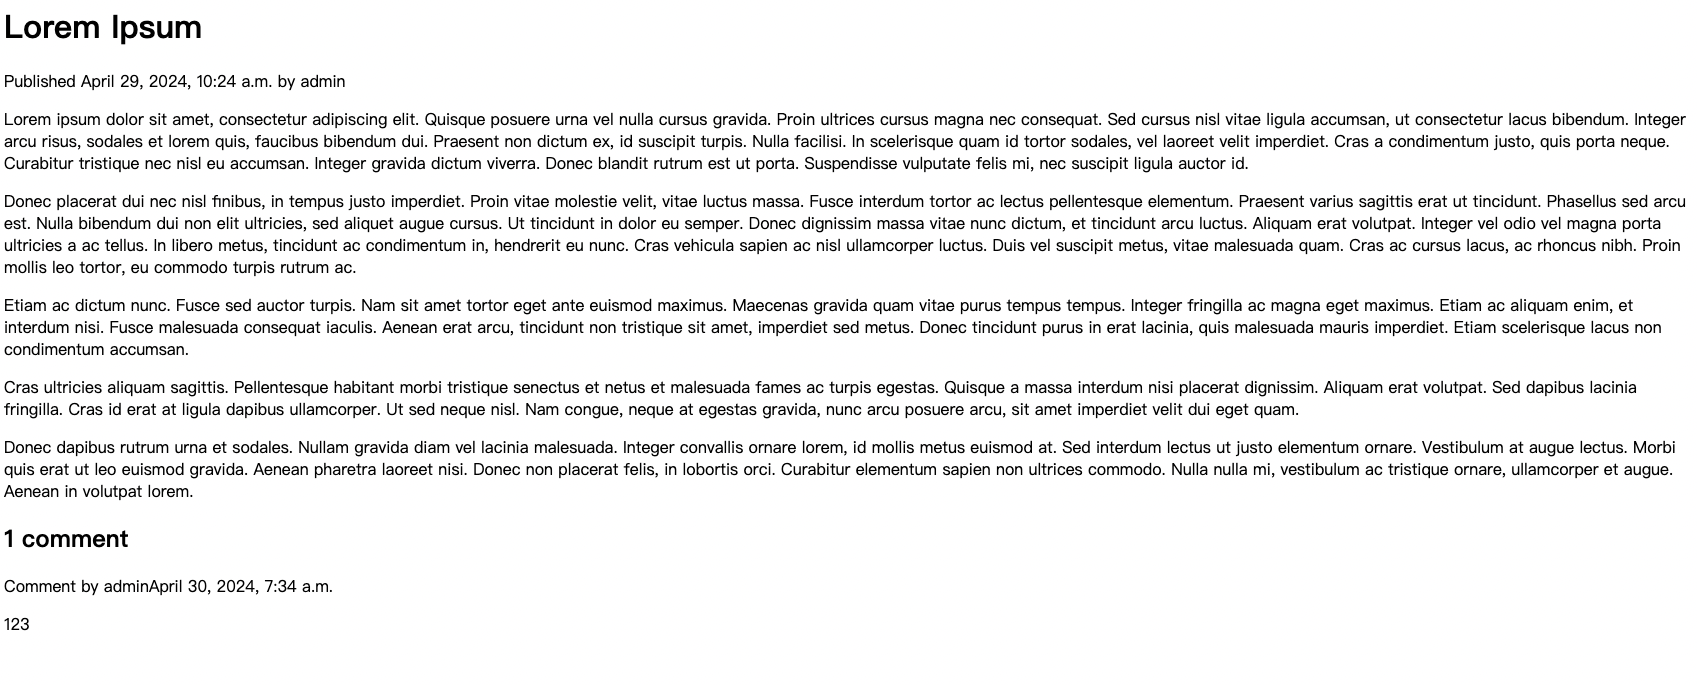
>>> from blog.models import Post, Comment
>>> post = Post.objects.all()
>>> post
<QuerySet [<Post: Lorem Ipsum2>, <Post: Lorem Ipsum>, <Post: created from shell>, <Post: hi>]>
>>> post = post.last()
>>> post
<Post: hi>
>>> com = Comment(post=post, username='text', email='[email protected]', body='here is a comment from shell')
>>> com.save()
>>> com
<Comment: Comment by text on hi>

也可以透過.filter(id=).first()找到想要新增的文章

先使用 for 循環印出所有文章的 id,在使用 filter 找指定的文章

1
2
3
4
5
6
7
8
9
10
11
12
13
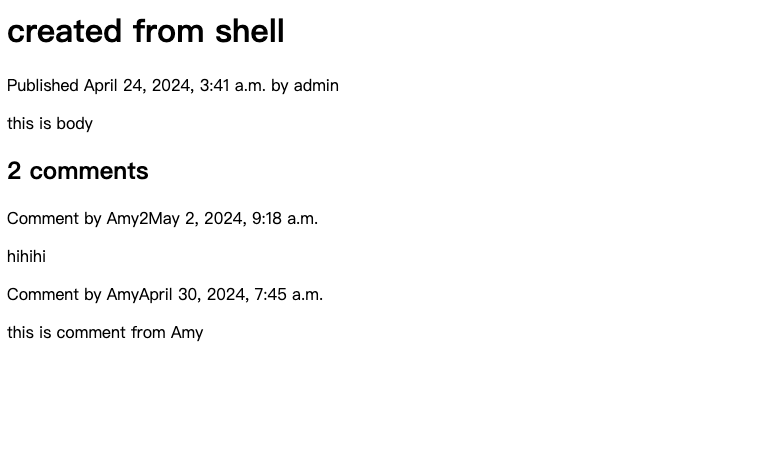
>>> post = Post.objects.all()
>>> for p in post:
... print(p.id)
...
7
6
5
3
>>> post = Post.objects.filter(id=5).first()
>>> com = Comment(post=post,username='Amy',email='[email protected]',body='this is comment from Amy')
>>> com.save()
>>> com
<Comment: Comment by Amy on created from shell>

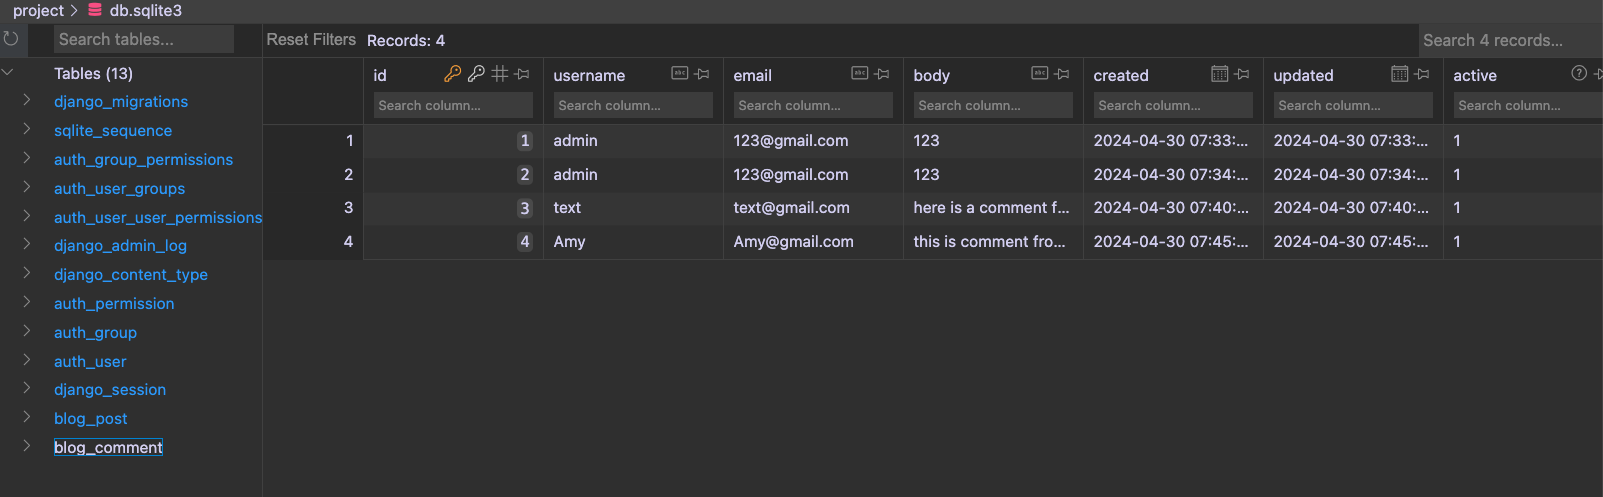
也可以看到 DB 的 blog_comment Table 裡面有資料:

可以從 post 調出 comments

1
2
3
4
5
6
7
>>> post = Post.objects.filter(id=5).first()
>>> post.comments.all()
<QuerySet [<Comment: Comment by Amy on created from shell>]>
>>> for c in post.comments.all():
... print(c)
...
Comment by Amy on created from shell

將頻論放到 blog 前台

1
2
3
4
5
6
7
8
9
10
11
12
13
14
15
16
17
18
19
#project/blog/templates/blog/detail.html
{% block content %}
<h1>{{ post.title }}</h1>
<p>Published {{ post.published_date }} by {{ post.author }}</p>
{{ post.body|linebreaks }}

{% with post.comments.count as total_comments %}
<h2>{{ total_comments }} comment{{ total_comments|pluralize }}</h2>
{% endwith %}

{% for comment in post.comments.all %}
<div>
<p>Comment by {{ comment.username }}{{ comment.created }}</p>
{{ comment.body|linebreaks }}
</div>
{% empty %}
<p>There are no comments yet.</p>
{% endfor %}
{% endblock %}
  • comment{{ total_comments|pluralize }}:如果是複數就會+s
  • {% for comment in post.comments.all %} :使用 for 循環帶出所有的評論
  • {% empty %} :如果沒有頻論就顯示 <p>There are no comments yet.</p>

做到這步驟,前台看起來就會像這樣,評論顯示在文章的下方

使用者輸入表單(form)

來建立一個表單讓使用者可以輸入評論內容

與 model 關聯

1
2
3
4
5
6
7
8
# project/blog/forms.py
from django import froms
from .models import Comment

class CommentForm(froms.ModelForm):
class Meta:
model = Comment #與DB的Comment Model關聯
fields = ('name', 'email', 'body') #傳進來的資料

這步主要是能讓前台傳的資料與 DB 關聯

編輯 views,以控制表單要傳遞的內容

1
2
3
4
5
6
7
8
9
10
11
12
13
14
15
16
17
18
19
20
21
22
23
24
25
26
27
28
# project/blog/views.py
def detail(request, year, month, day, slug):
#... 其他程式

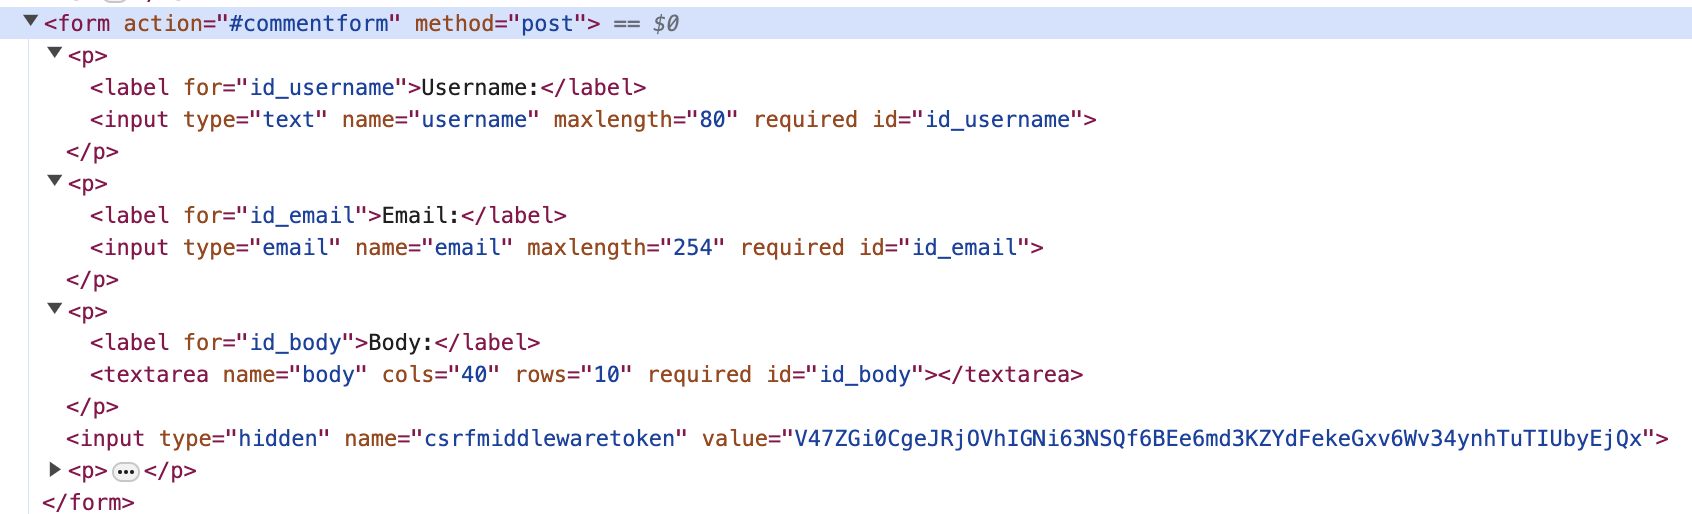
# List of active comments for this post
comments = post.comments.filter(active=True) #過濾出所有active的comment
new_comment = None
if request.method == 'POST': #如果表單發送post請求
comment_form = CommentForm(data=request.POST) # 讀取form數據,產生comment_form對象
if comment_form.is_valid(): #驗證是否正確
new_comment = comment_form.save(commit=False) #新建一個new_comment對象
new_comment.post = post
new_comment.save()
else:
comment_form = CommentForm() #如果不是post 是get,就做一個form的顯示

return render( # return Template
request,
'blog/detail.html',
{'post': post,
'comments': comments, # 傳遞comment的資料到template
'new_comment': new_comment,
'comment_form': comment_form
}
)

#... 其他程式

編輯前台顯示畫面

1
2
3
4
5
6
7
8
9
10
11
12
13
14
15
#project/blog/templates/blog/detail.html

#...其他程式
{% if new_comment %}
<h2>Your comment has been added.</h2>
{% else %}
<h3><a name="commentform"></a>Leave a Comment</h3>
<form action="#commentform" method="post">
{{ comment_form.as_p }}
{% csrf_token %}
<p><input type="submit" value="Add comment"></p>
</form>
{% endif %}

#...其他程式
  • {{ *comment_form*.*as_p* }}:顯示文字會用 html 的

    包住

  • {% csrf_token %}:防止 corss site 攻擊

以上都做好後,按右鍵查看原始碼可以看到,Django 幫我們做了一個 form

前台也能夠順利使用表單新增留言了~

本篇文章是我由以下參考資料整理而成,如果您有興趣了解更多,請參考:

參考資料:

Django Docs - Working with forms

Django 2 Web 开发入门与实战

评论